PC Build: Custom Open Case
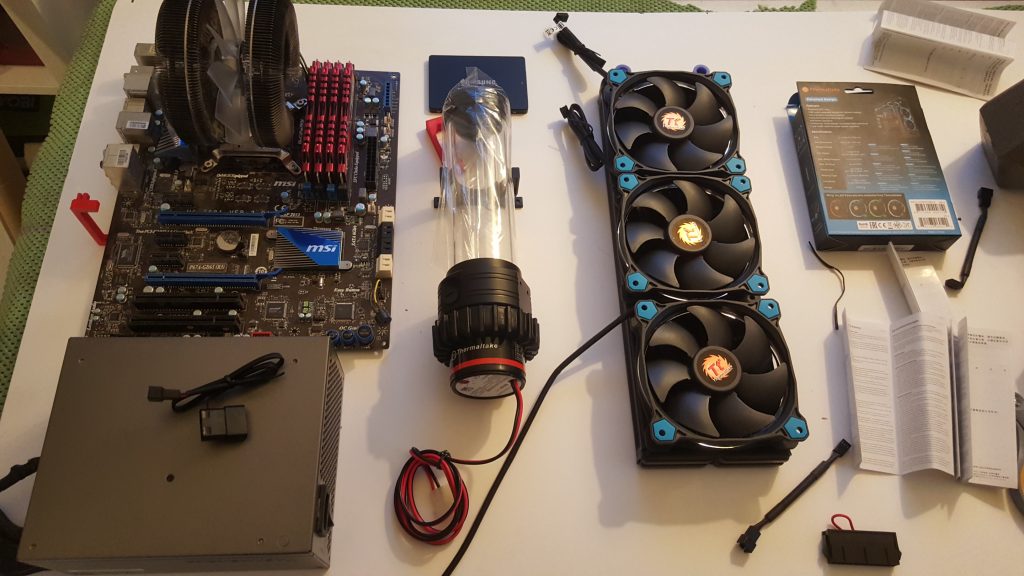
Specs:
Intel I7-6700K
ASUS TUF SABERTOOTH Z170 S
Ballistix Sport LT 32GB
EVGA GeForce GTX 1070 FTW 8GB GDDR5
850 watt Thermaltake PSU
Thermaltake PACIFIC DIY LCS R360 water cooling kit (which I only used radiator and res/pump) regid tubes and fittings were extra.
Samsung 850 EVO – 500GB x 2
Samsung 950 PRO Series – 512GB PCIe NVMe
See at the end for complete list for case parts.

Was inspired by a few designs to create an open case design. After seeing a few on youtube and looking at the thermaltake p5 case, I set out to create a custom case base on my own layout. Maybe this design is not the best, but it’s a start. Time to learn and get started.
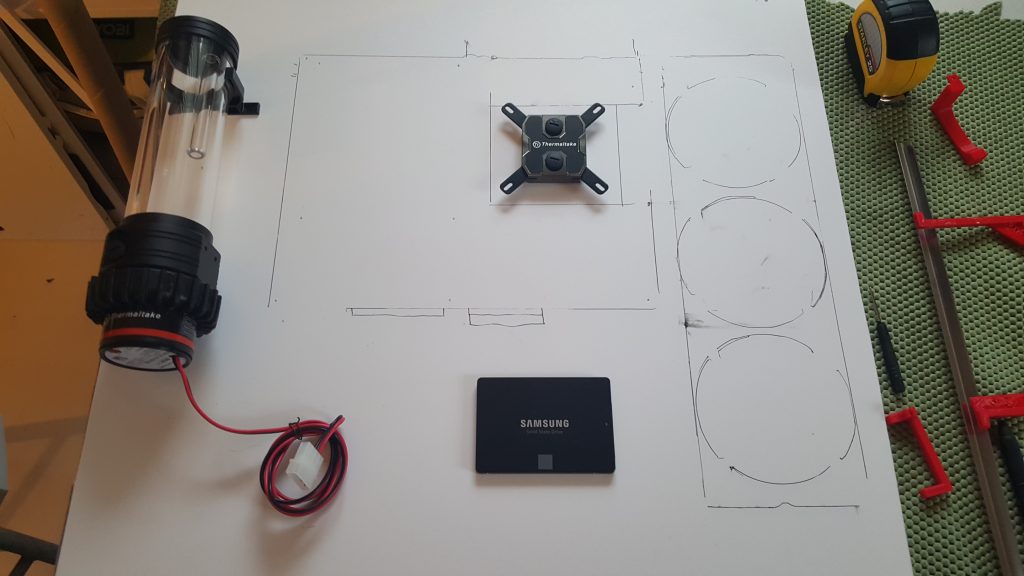
First step is to choose material. I wanted something that was hard enough to support all my components, but easy to cut. I went with a PVC foam board. Its easy to cut and make a template. If it turned out too soft, I could just use it as a stencil for either plexiglass or aluminum sheets. Turns out the PCV was just strong enough to support my components.
I knew I needed extra support so I orders the back/front panels plexiglass. I also ordered steel standoffs that would make it sturdier.

Component Layout:
At first I just placed components on the board and sent pics to my friends. I chose a layout that just looked nice. I didn’t take into consideration a few key points.
- Keep pump reservoir at the lowest point for draining the system
- Build draining system. Most kits do not have a drain valve.
- Keep PSU and water apart or at least shield PSU from any potential leaks
- Measure PSU cables with your layout. I had to add 6 inches to main 24 pin cable to reach MB
- Measure holes with cables too. Original design for SSD cables was smaller. Had to double size.


After you’re sure about the layout, either spray paint or cover the main panel with a design. I choose carbon fiber vinyl. Looks great and its cheap. A bit hard to install without getting bubbles. Just poke any bubbles with a razor and press it flat.

Tube Bending using a heat and silicon insert to keep the same form. 3D printed bending tool.
LED needed a 12 v power adapter plu, so I ordered a remote and connected to a 12v molex PSU connector.
Mounted all components and filled water cooling system. Only connected power to the pump and ran a leak test for 24 Hours.
Added the back panel Acrylic White semi translucent 24×24 inch. 3D printed red bold caps. Also printed bolt spacers.
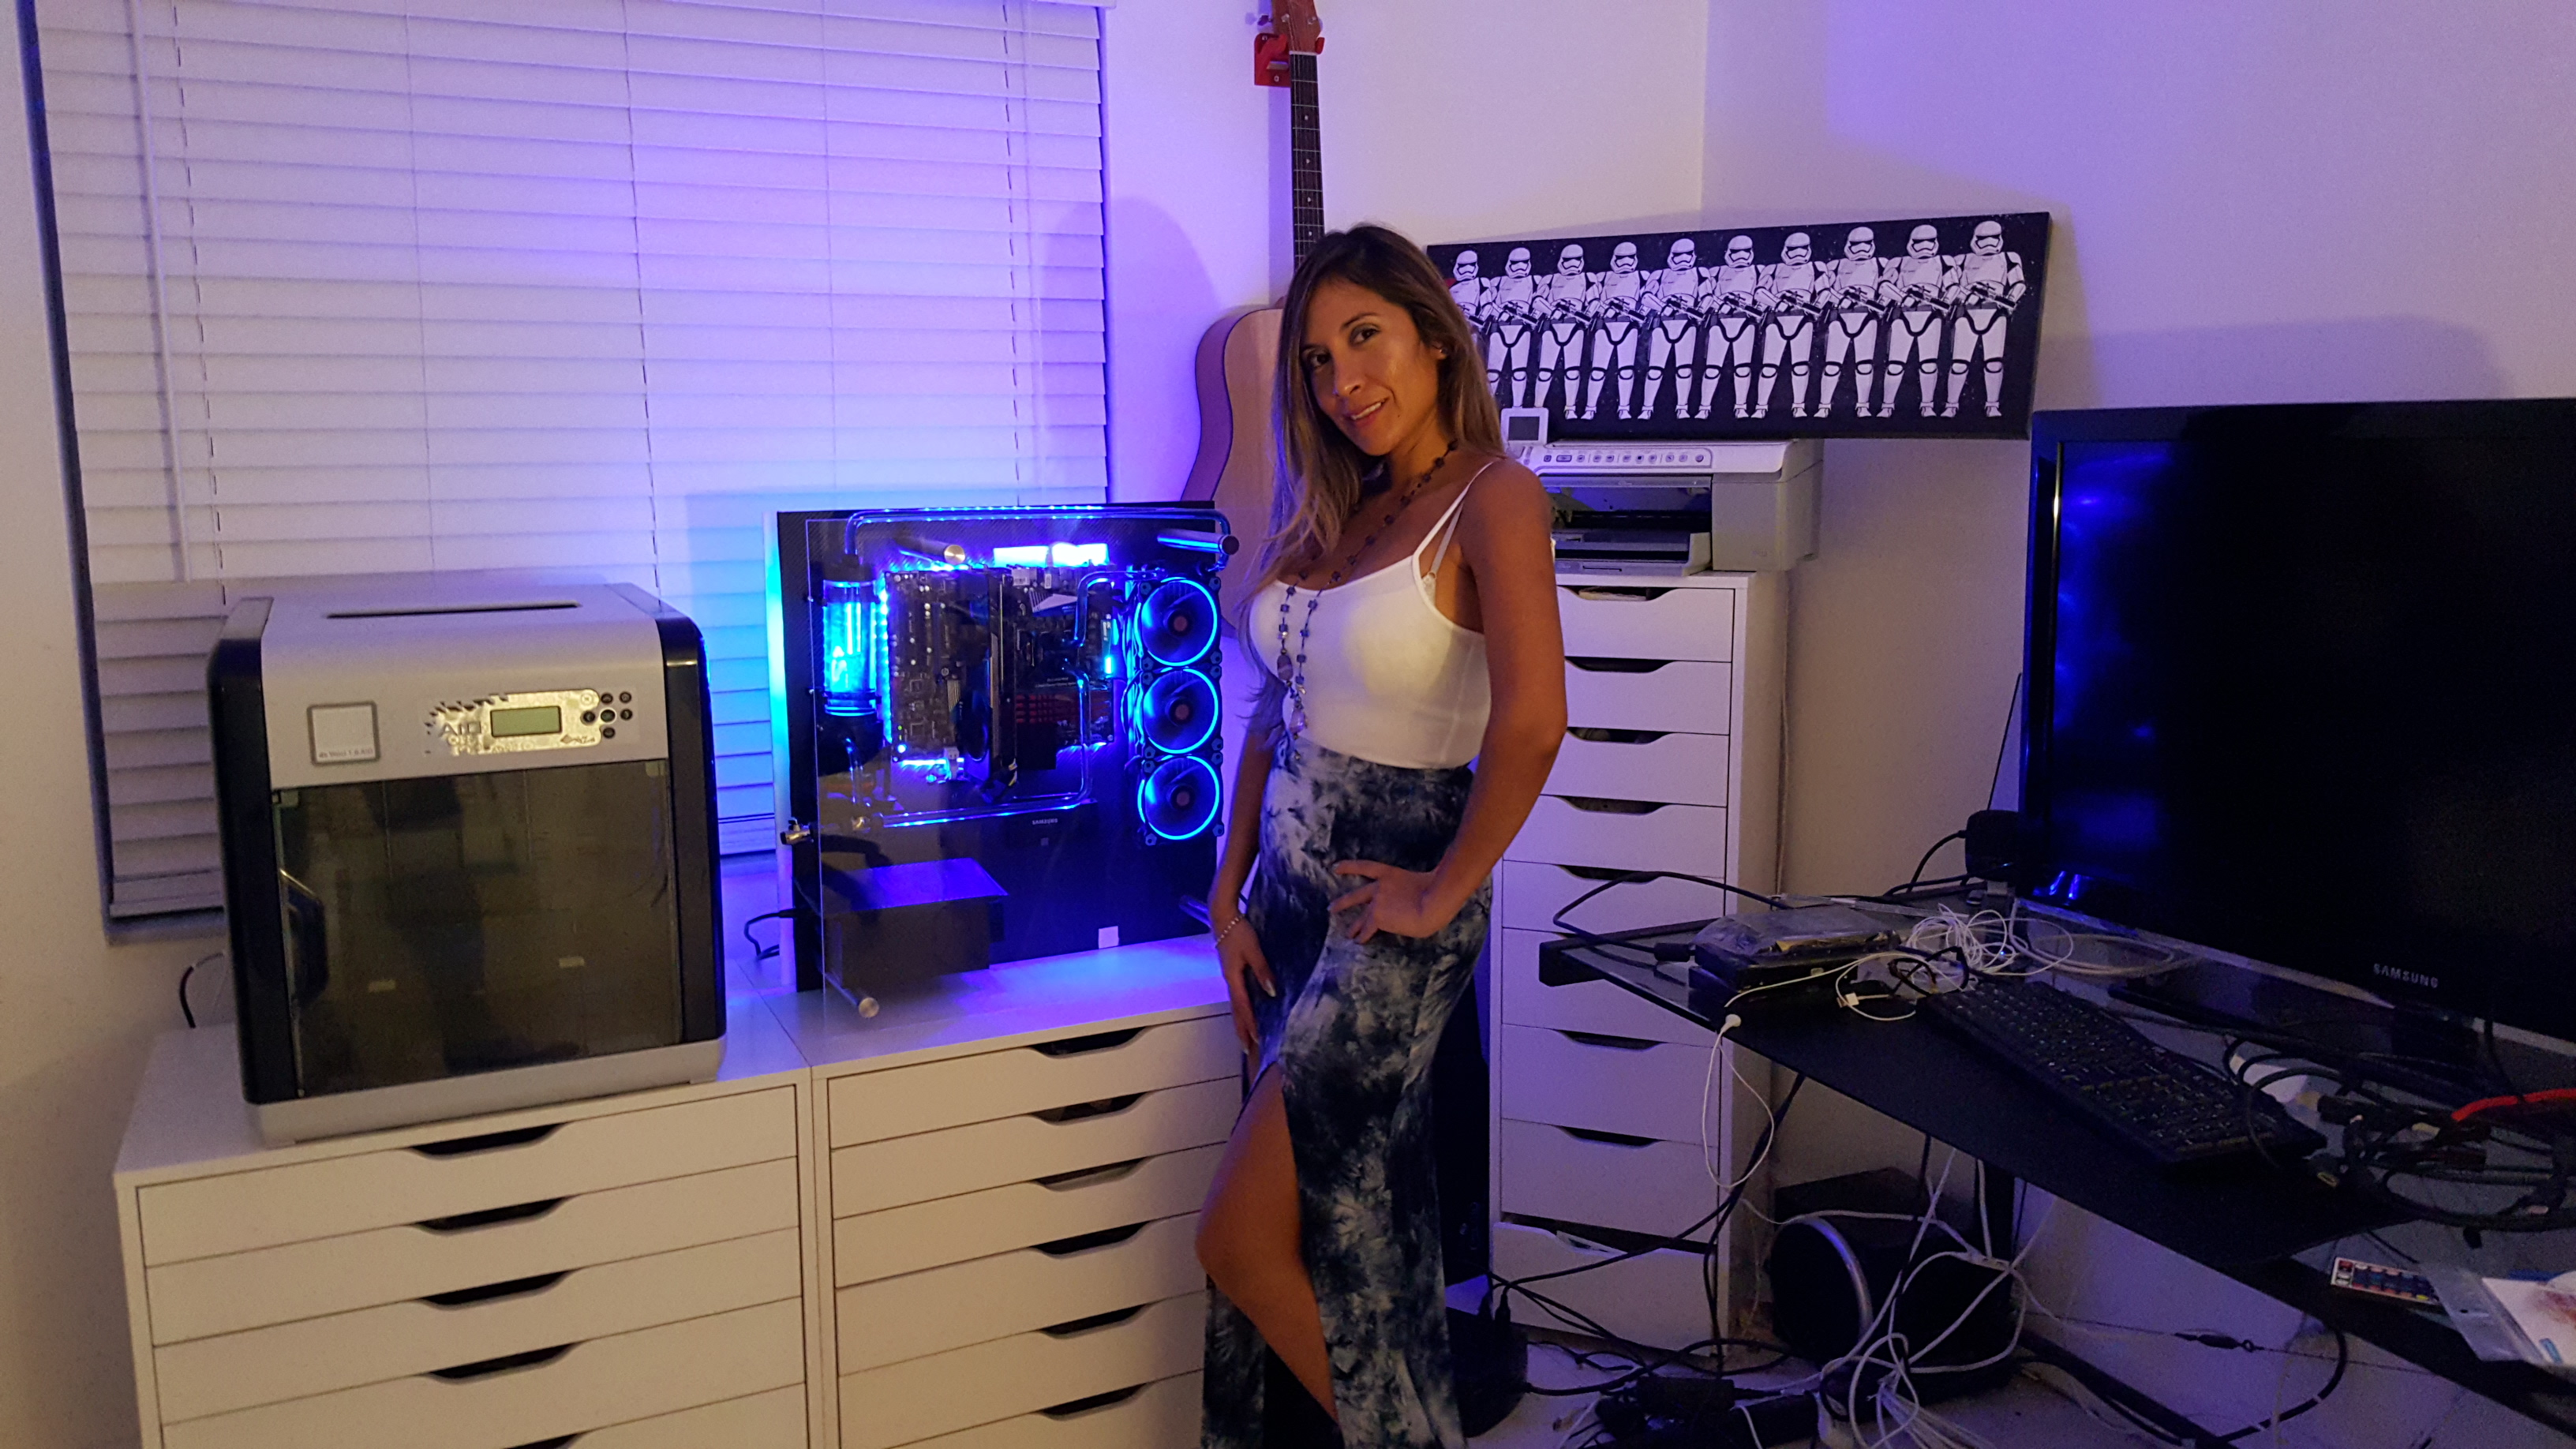
Added the front clear plexiglass to standoffs. Looks great!!
3D printed List:
PSU bracket: http://www.thingiverse.com/thing:950061
I designed a case stand, but didn’t use it in the end: http://www.thingiverse.com/thing:1693053
I designed a few other items. I haven’t uploaded to share yet. Will update later.(PSU cover, Pump/res base, Cable covers, Tube bending tool, bolt cap and spacers)
best wifey pic ever:
Here’s the complete build list:
| Plexiglass: Clear 24 x 24 |
| ProjectPVC 48×24 |
| On switch and artic paste |
| Acrylic Sheet white 24 x 24 |
| SSD 500 GB qty 2 |
| PETG Regid tube 4 pack |
| Silicon Insert |
| Regid fittings 12 pcs |
| Thermaltake Water Cooling Kit R360 |
| LED T shape connector |
| Thermaltake PSU 850 watt |
| White HDMI Cable 15 ft |
| LED corner connectors 5pcs |
| Carbon Fiber sheet 24×60 |
| Steel Standoff 4pcs 200 mm height |
| Standoff bolts |
| Silicone insert 3ft |
| LEDs 16ft 5050 |
| LED controller |
| T-Fitting and Drain Valve |
| Ballistix Sport LT 32GB |
| Samsung 950 PRO M.2 512 GB |
| EVGA GeForce GTX 1070 |
| step drill bit |
| Intel I7-6700K |
fin.